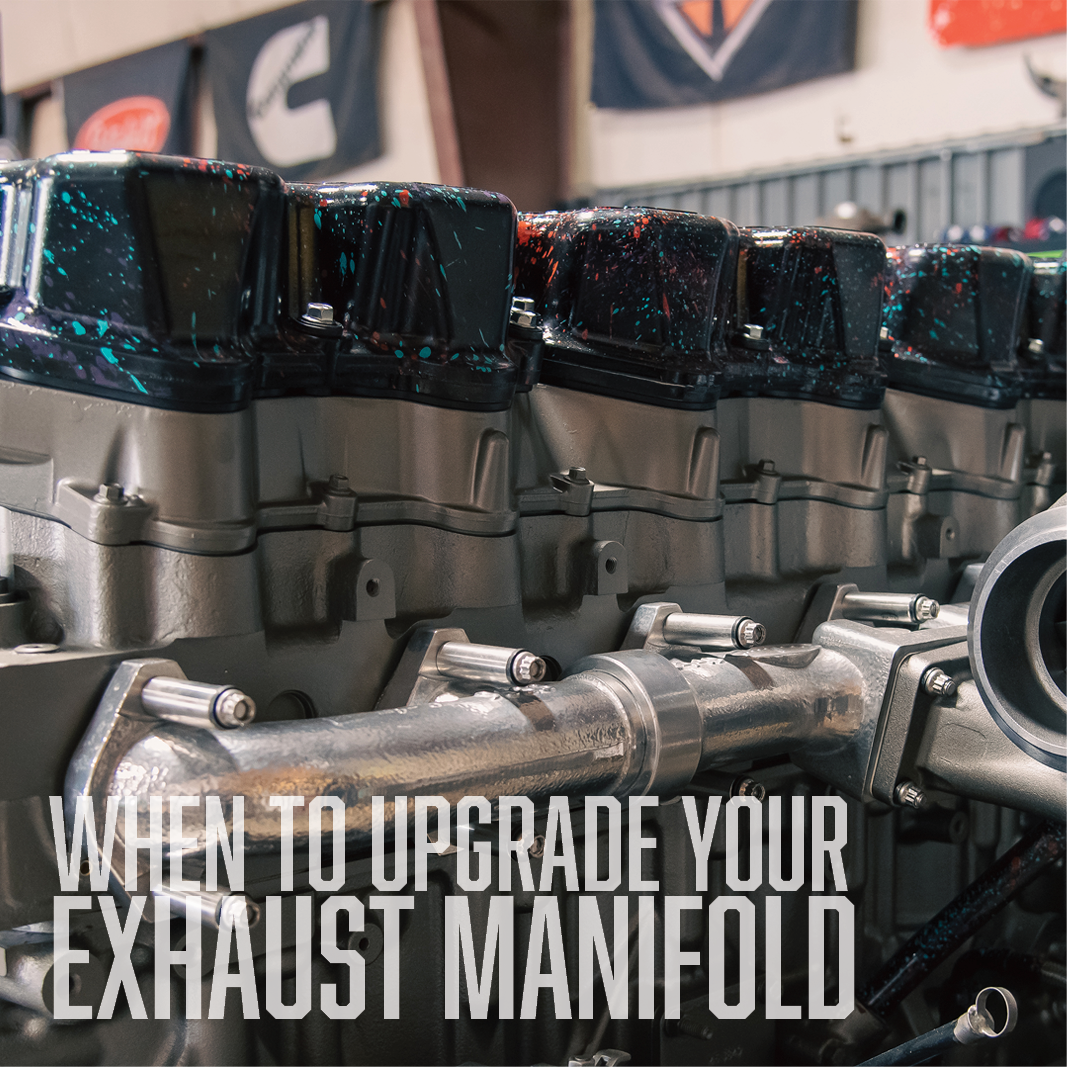


Installation Guide: Upgrading Your Exhaust Manifold
When it comes to maximizing performance and efficiency, upgrading your exhaust manifold is a crucial step. Full Tilt Performance ceramic coated exhaust manifolds are the fastest flowing exhaust manifolds in the industry, quicker turbo spool and more fuel efficiency for class 8 engines. These premium exhaust manifolds are designed as a direct bolt-on OEM replacement.
Why Upgrade Your Exhaust Manifold?
Before diving into the installation process, let’s discuss why you might want to upgrade your exhaust manifold:
Improved Air Flow: Aftermarket manifolds are designed to optimize exhaust flow, reducing back pressure and increasing fuel mileage efficiency.
Increased Durability: Thicker exhaust flanges and center divides provide greater strength and durability for even the hardest working trucks.
Here’s a step-by-step guide to installing one of our exhaust manifolds:
WARNING – Improper installation can result in engine damage; it is highly recommended that this manifold be installed by a qualified and experienced mechanic.
Step 1 – Removing the Stock Manifold
1. If necessary, remove air duct work and air filter
2. Remove air-to-air tubes
3. Disconnect the exhaust tubing and remove the oil lines from the turbo
4. Remove the turbo
5. If necessary, remove the thermostat housing
6. Unbolt and remove the exhaust manifold
Step 2 – Prepare the Manifold Mounting Surface
1. Stuff rags in the exhaust ports to prevent debris from entering the engine
2. Clean gasket surface thoroughly
3. If necessary, replace studs
4. Remove rags when cleaning is complete
5. Install new gaskets and seals
Step 3 – Install Full Tilt Performance Manifold
1. Install the Full Tilt exhaust manifold
a. Make sure to center the studs in the hole in manifold. This allows the manifold to expand and contract without contacting (and breaking) a stud.
2. Clean threads with proper sized tap
a. Apply anti-seize to all threads
b. Install stud by hand into head, do not tighten past hand tight
3. Install the bolts and studs with appropriate spaces and washers
a. Torque to proper specifications (if you purchased our studs, there is a torque spec sheet inside the hardware bag)
b. Use the factory tightening sequence
4. If necessary, replace the thermostat housing using new gaskets
5. Reinstall turbo and torque to proper specifications
6. Reinstall the oil lines and reconnect the exhaust tubing
7. Reconnect the air-to-air tube
8. If necessary, reconnect the air duct work and air filter
9. Start the vehicle and let run at idle
10. Check for leaks
Installing and upgrading your truck to a Full Tilt Performance exhaust manifold can lead to significant performance gains. By following these steps and paying attention to detail, you can ensure a successful upgrade that enhances your truck’s efficiency. As always, it is highly recommended that this manifold be installed by a qualified and experienced mechanic. If you have any questions about the installation process and need technical support, please call us at 1-800-225-2147. Happy Wrenching!